Why This Is Worth Reading First
Most homeowners go into a heat pump installation with a vague idea of what's involved and end up surprised by something — the timeline, the permit process, how long the crew is on site. This walkthrough covers the whole process so there are no surprises.
Step 1: The Site Assessment
Everything starts with a site visit. Before any equipment is specified or priced, a technician needs to assess the property. This visit typically takes 45 to 90 minutes and covers:
- Current heating and cooling setup (existing ductwork, electrical panel capacity, fuel type)
- Property size, layout, and insulation level
- Outdoor unit placement options (setbacks from property lines, noise considerations, refrigerant line routing)
- Indoor unit locations for ductless systems, or air handler placement for ducted systems
The site assessment is what makes an accurate quote possible. A quote given without a site visit is a rough estimate at best.
Step 2: Equipment Selection and Quote
After the assessment, you'll receive a written quote that specifies:
- The heat pump model and capacity (sized to your property's heating and cooling load)
- Outdoor and indoor unit locations
- Electrical work required (panel upgrades, dedicated circuits)
- Any ductwork modifications if applicable
- The scope of the permit pull
Take time to understand what's included. Ask specifically whether the quote covers the permit, electrical, lineset cover, and startup commissioning — or whether any of those are add-ons.
Step 3: Permit Pull
In BC, heat pump installations require a building permit and an electrical permit. Your contractor pulls these before work starts. This typically takes a few business days to a couple of weeks depending on the municipality.
Burnaby, Vancouver, Coquitlam, and other Lower Mainland cities all have their own permit offices. Experienced local contractors know the process and submit complete packages that don't get bounced back for missing information.
Step 4: Installation Day
For a standard ductless mini-split installation, one or two technicians are typically on site for four to eight hours. A multi-zone system or ducted system with electrical panel work takes longer — sometimes two days.
What happens during installation:
- Outdoor unit is mounted on a pad or wall bracket at the pre-agreed location
- Line sets (refrigerant tubing, drain line, electrical) are run from the outdoor unit to each indoor head
- Indoor head is mounted and connected
- Electrical connections are made and verified
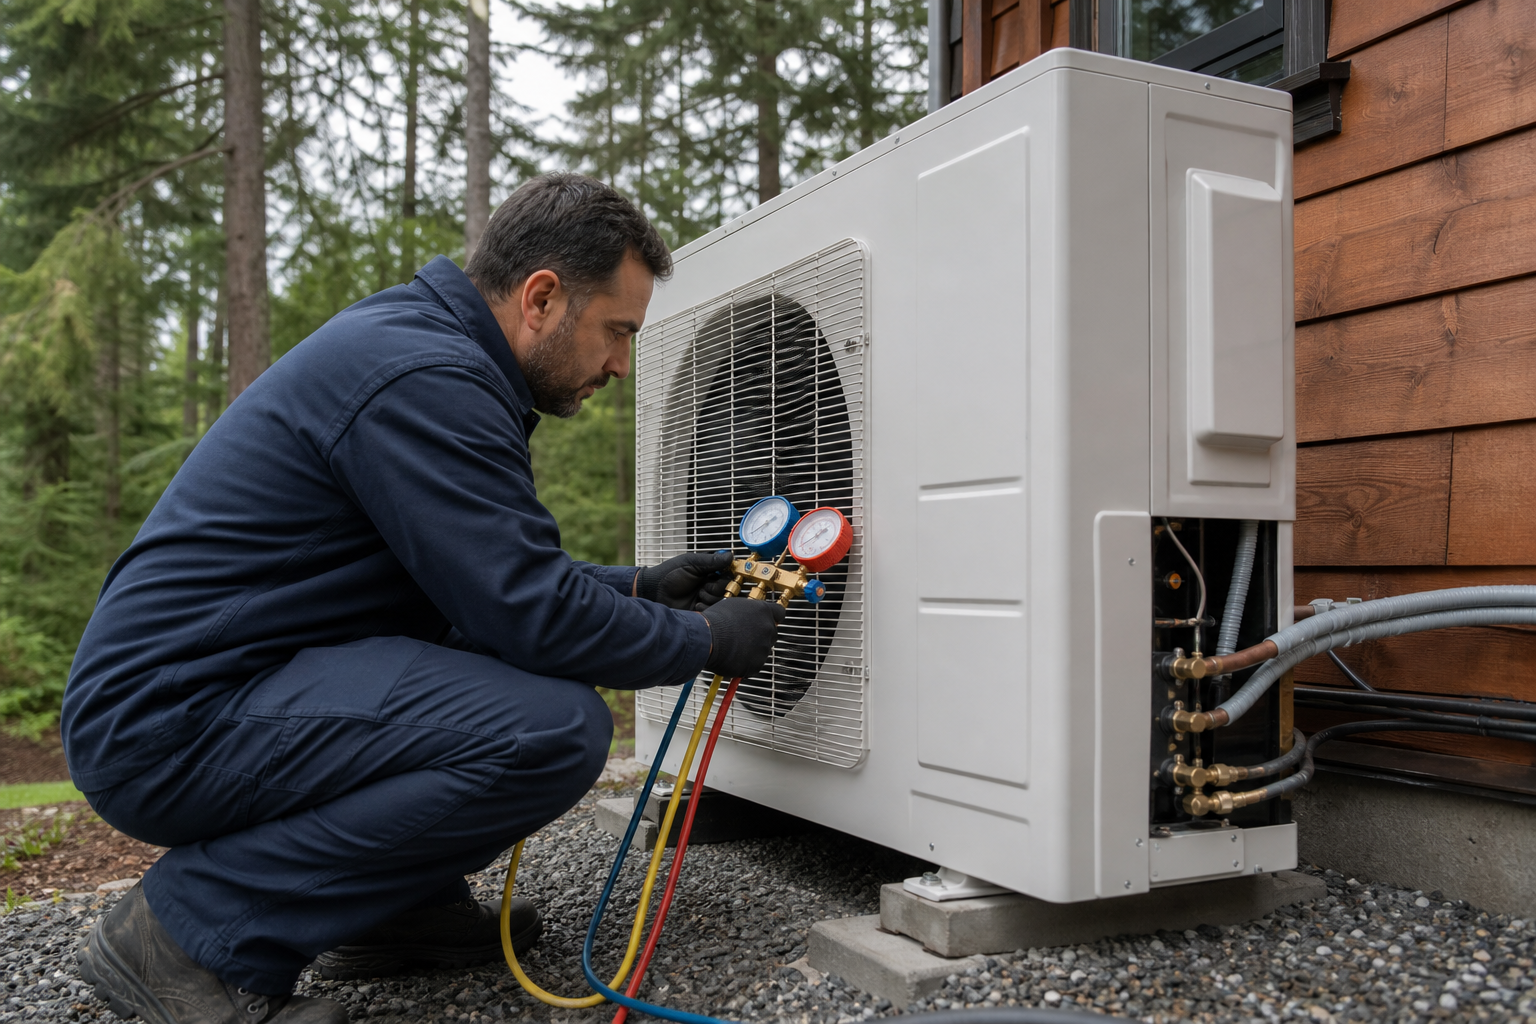
- System is pressure-tested, evacuated, and charged with refrigerant
- Startup commissioning: the system is run through heating and cooling modes, airflow is set, and controls are configured
Step 5: Inspection
After installation, the permit authority inspects the work. Your contractor schedules this and is present for it. The inspection confirms the installation meets BC Building Code and BC Safety Authority standards. Once it passes, the permit is closed.
Step 6: Handoff
The final step is a walkthrough with the technician: how to operate the system, how to clean the filters, what the indicator lights mean, and what to do if you notice something unusual. You'll also receive the documentation you need for any rebate applications.
Timeline Summary
- Site assessment: 1 to 2 days after initial contact
- Quote delivery: 2 to 5 business days after assessment
- Permit pull: 3 to 14 business days
- Installation: 1 to 2 days on site
- Inspection: 3 to 10 business days after install
- Total from first call to permit closed: typically 3 to 6 weeks
What Can Slow Things Down
Electrical panel upgrades add time and cost. If your panel doesn't have capacity for the new circuits, that work needs to happen first. It's worth asking about this upfront so it doesn't come as a surprise.
Permit timelines vary by municipality and season. Spring and summer are the busiest times for HVAC permits across the Lower Mainland — plan ahead if you want an install before the next heating season.